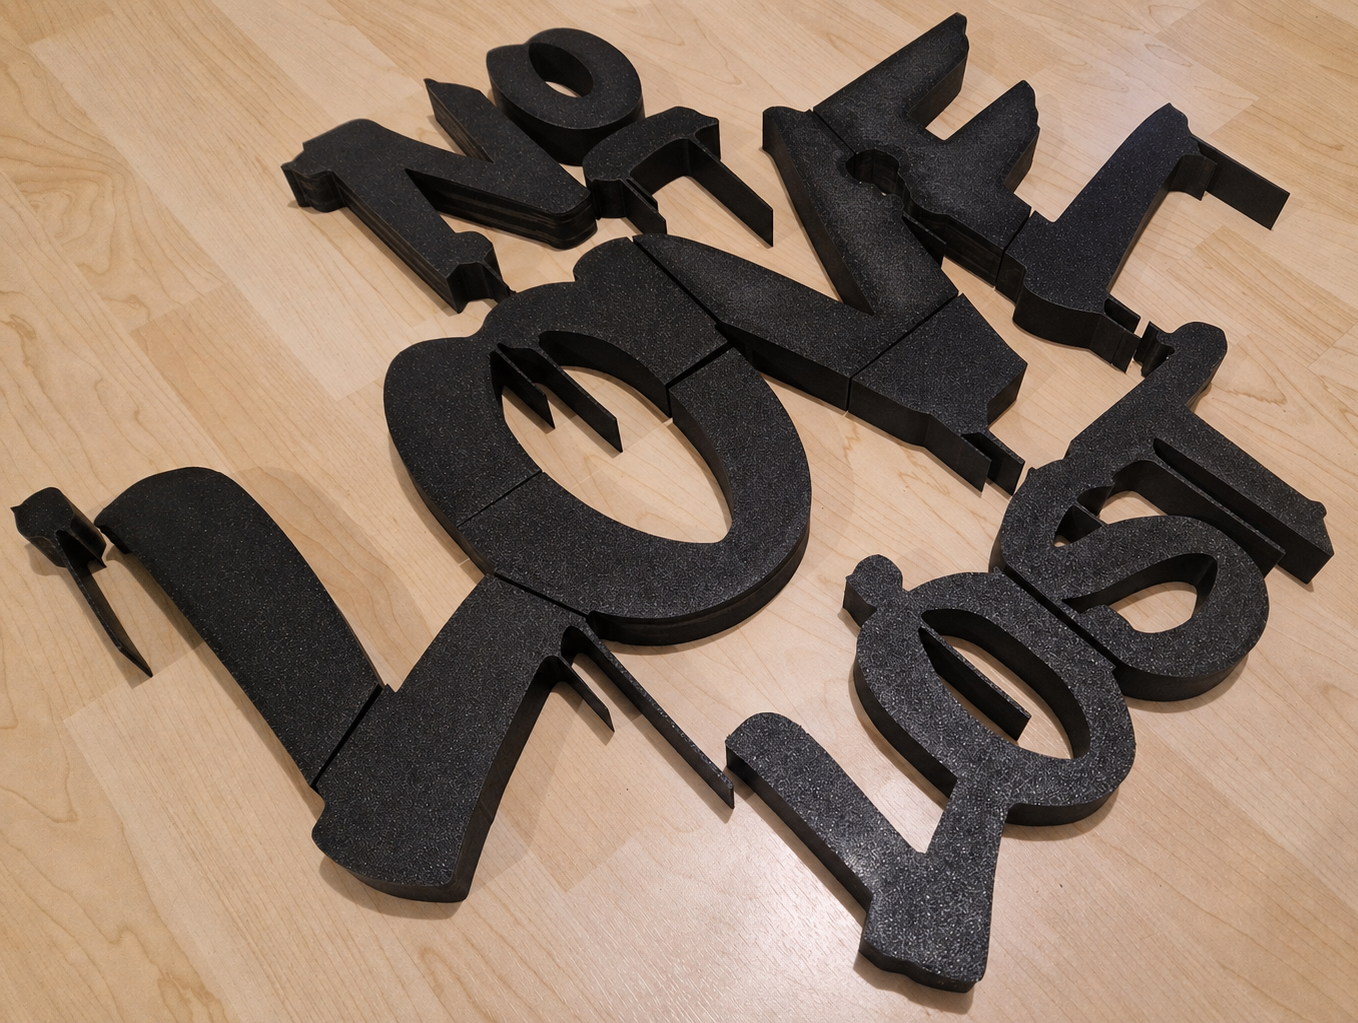
No Love Lost Studio Signage

3D printed back-lit signage for a tattoo studio using addressable LEDs and WLED control.

28th September 2024

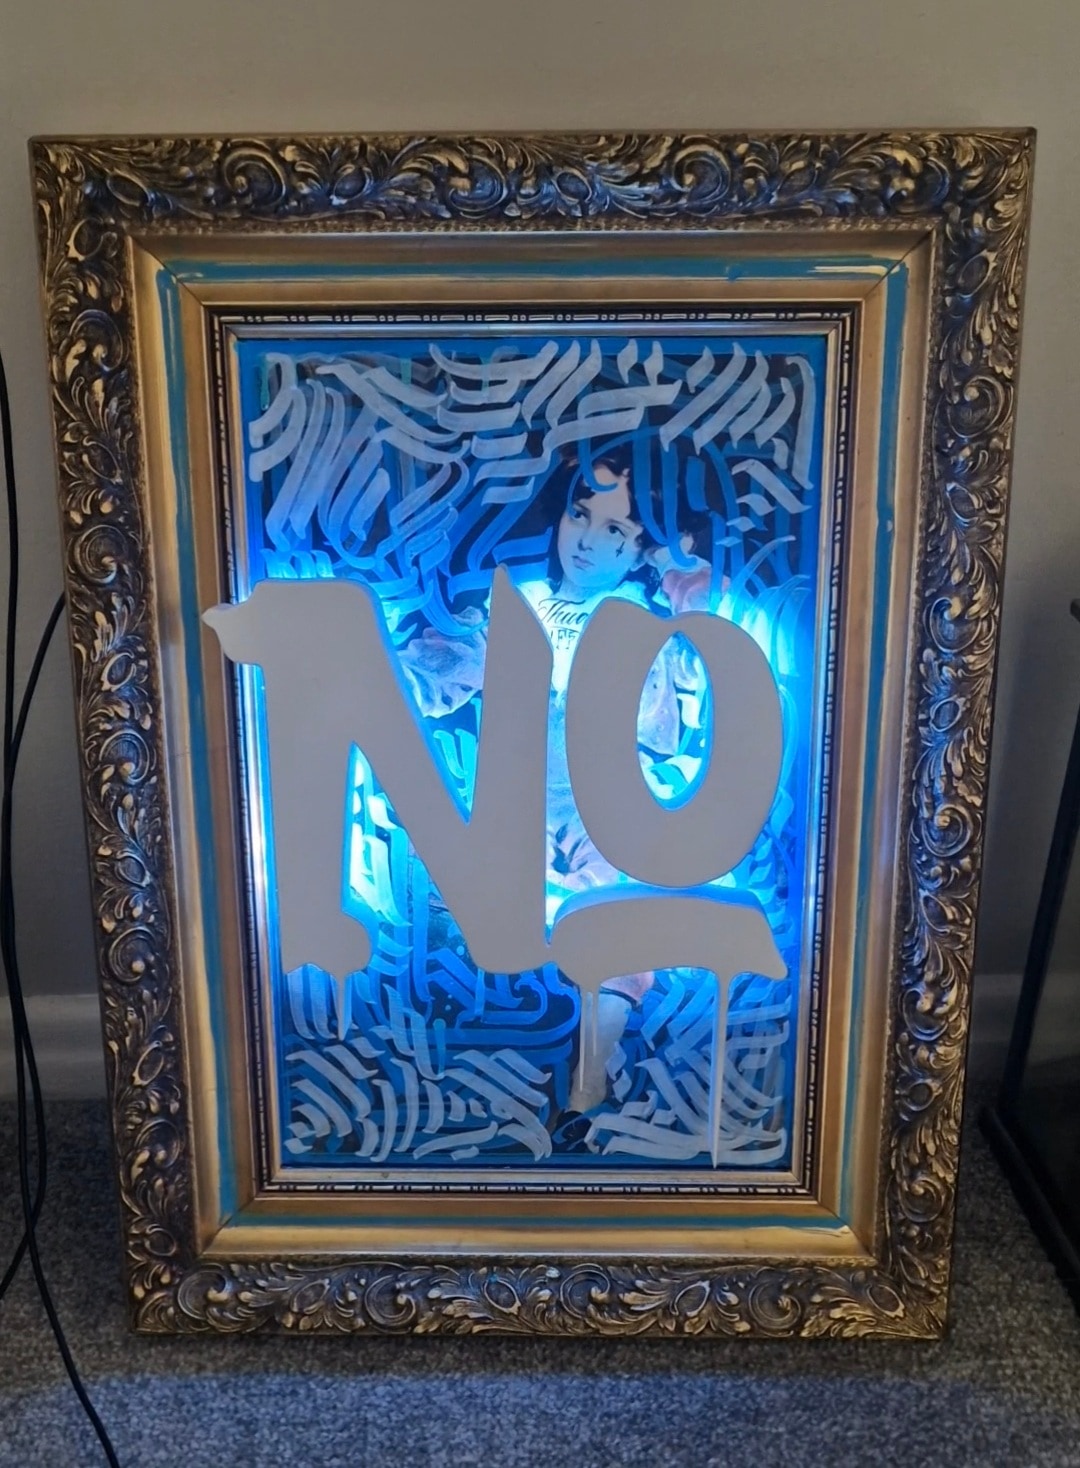
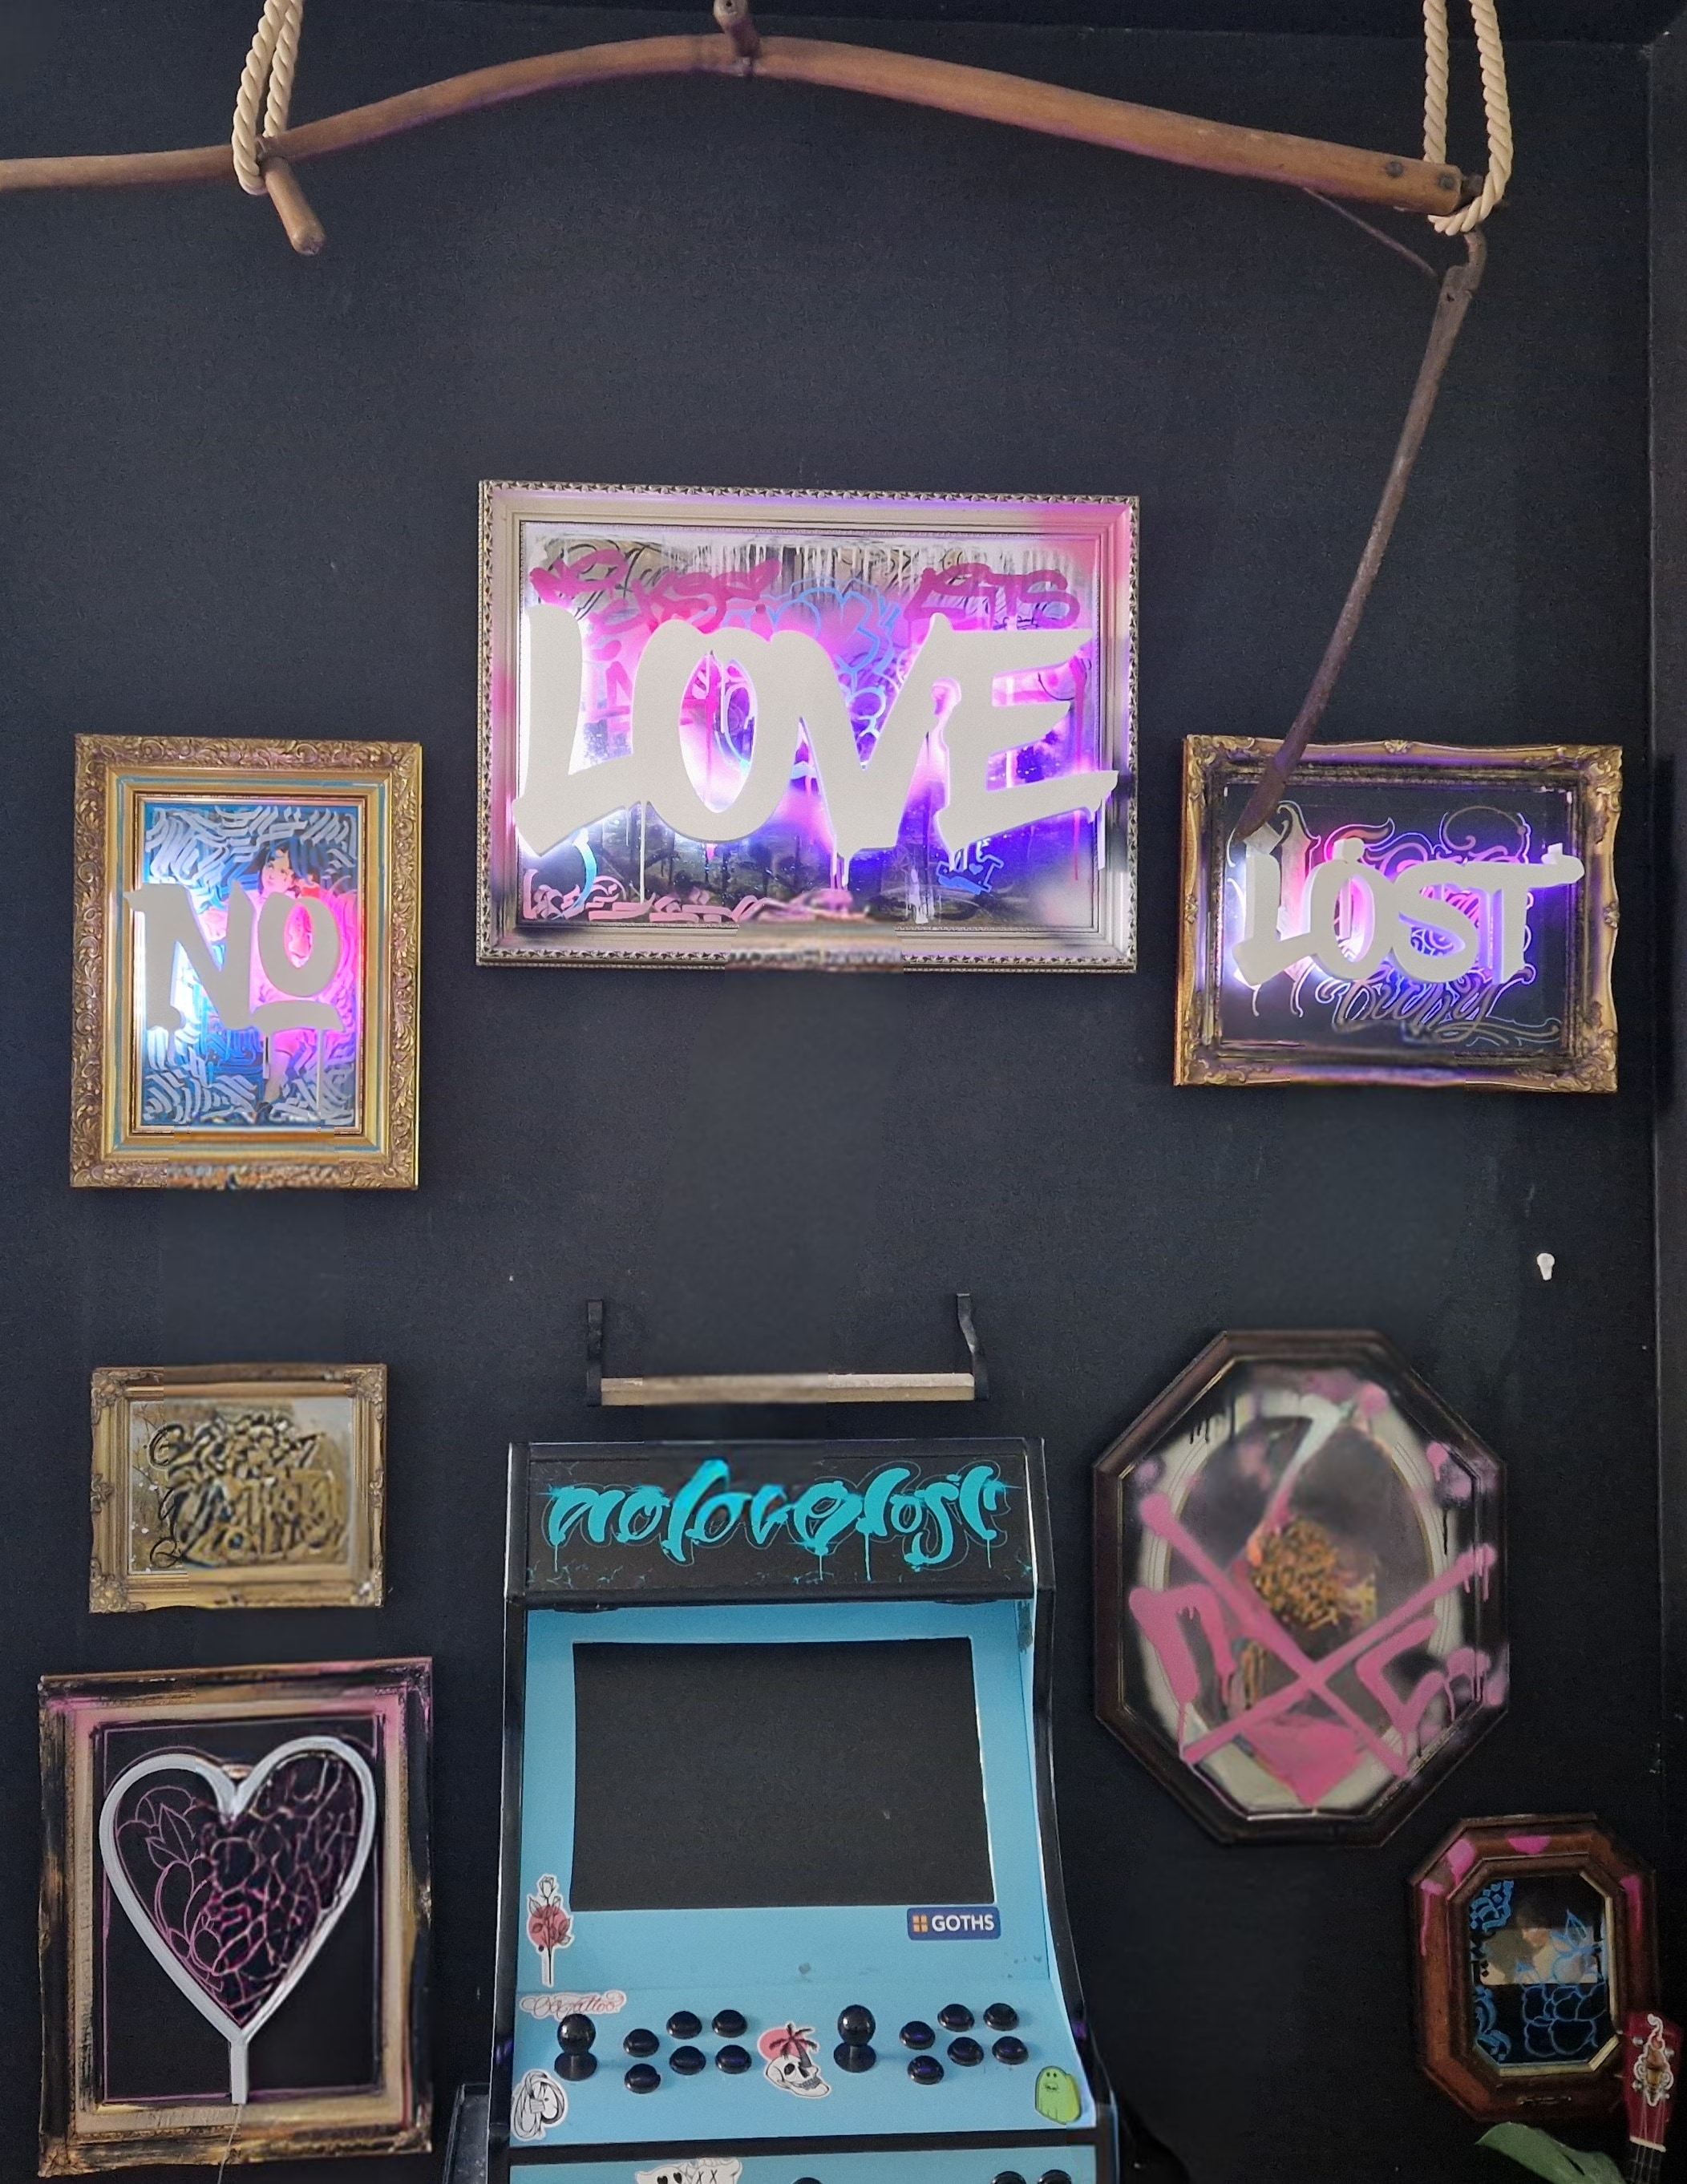
The signs are now installed in the studio. With the framed artwork, back-lighting and overall layout all working together, the finished result feels much more like a set of illuminated wall pieces than standard signage, which I think suits the space well.

For something that was meant to be a quick project using materials and hardware I already had, I’m really happy with how they came out. The studio owner and the rest of the team were really pleased with them too.
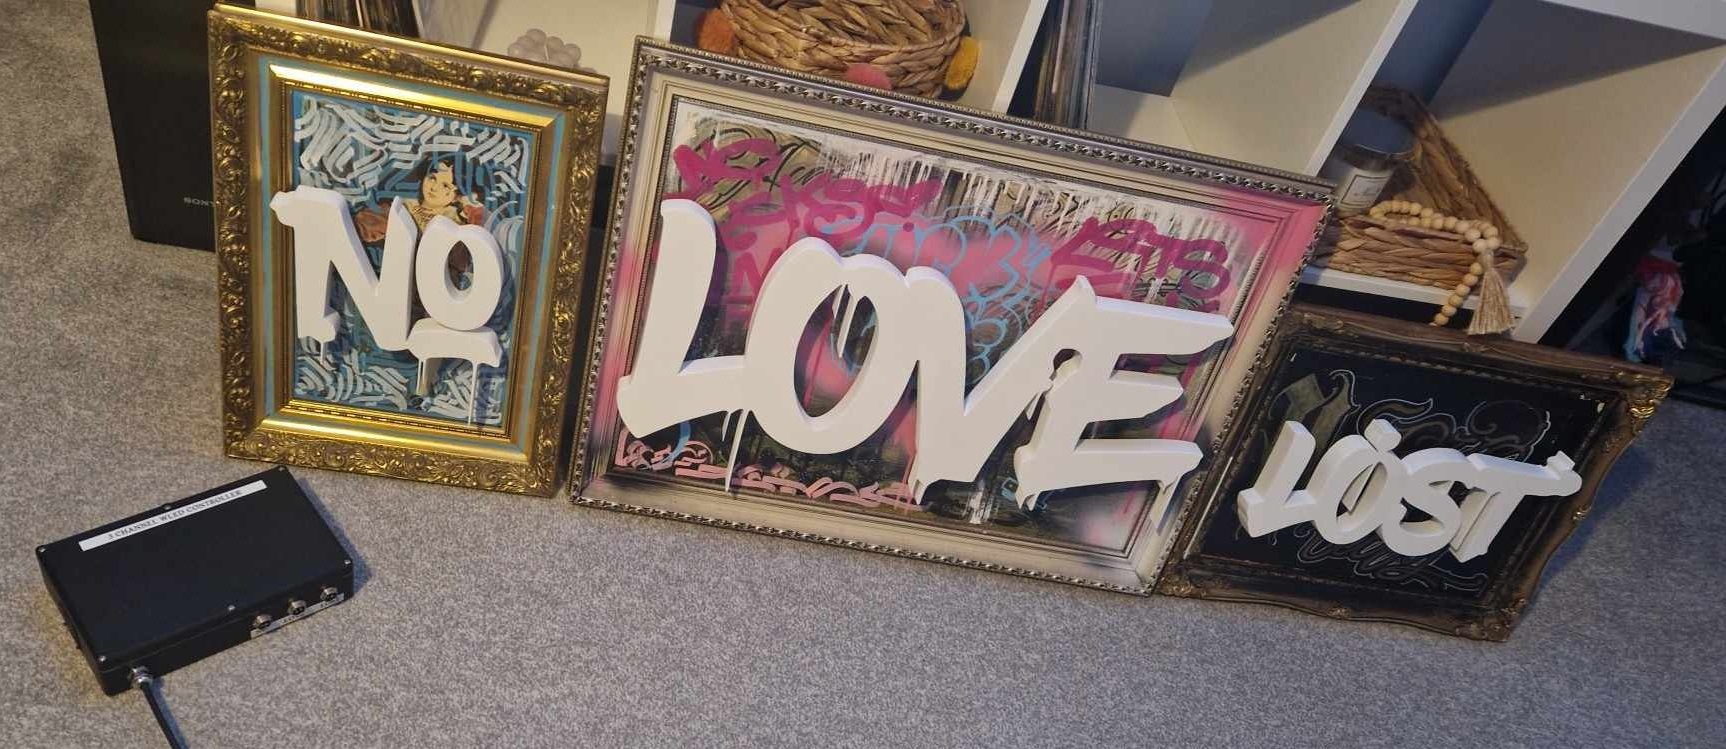
21st September 2024

I’ve now got the frames for the signs from the tattoo studio owner. He sourced them and graffitied the inserts so I could mount the lettering over the top.

At this stage I’m checking the fit, spacing and back-lighting effect now that the letters are being assembled against the final backgrounds. Seeing the pieces come together like this gives a much better idea of how the finished set should work, both as individual signs and as a group.

28th June 2024

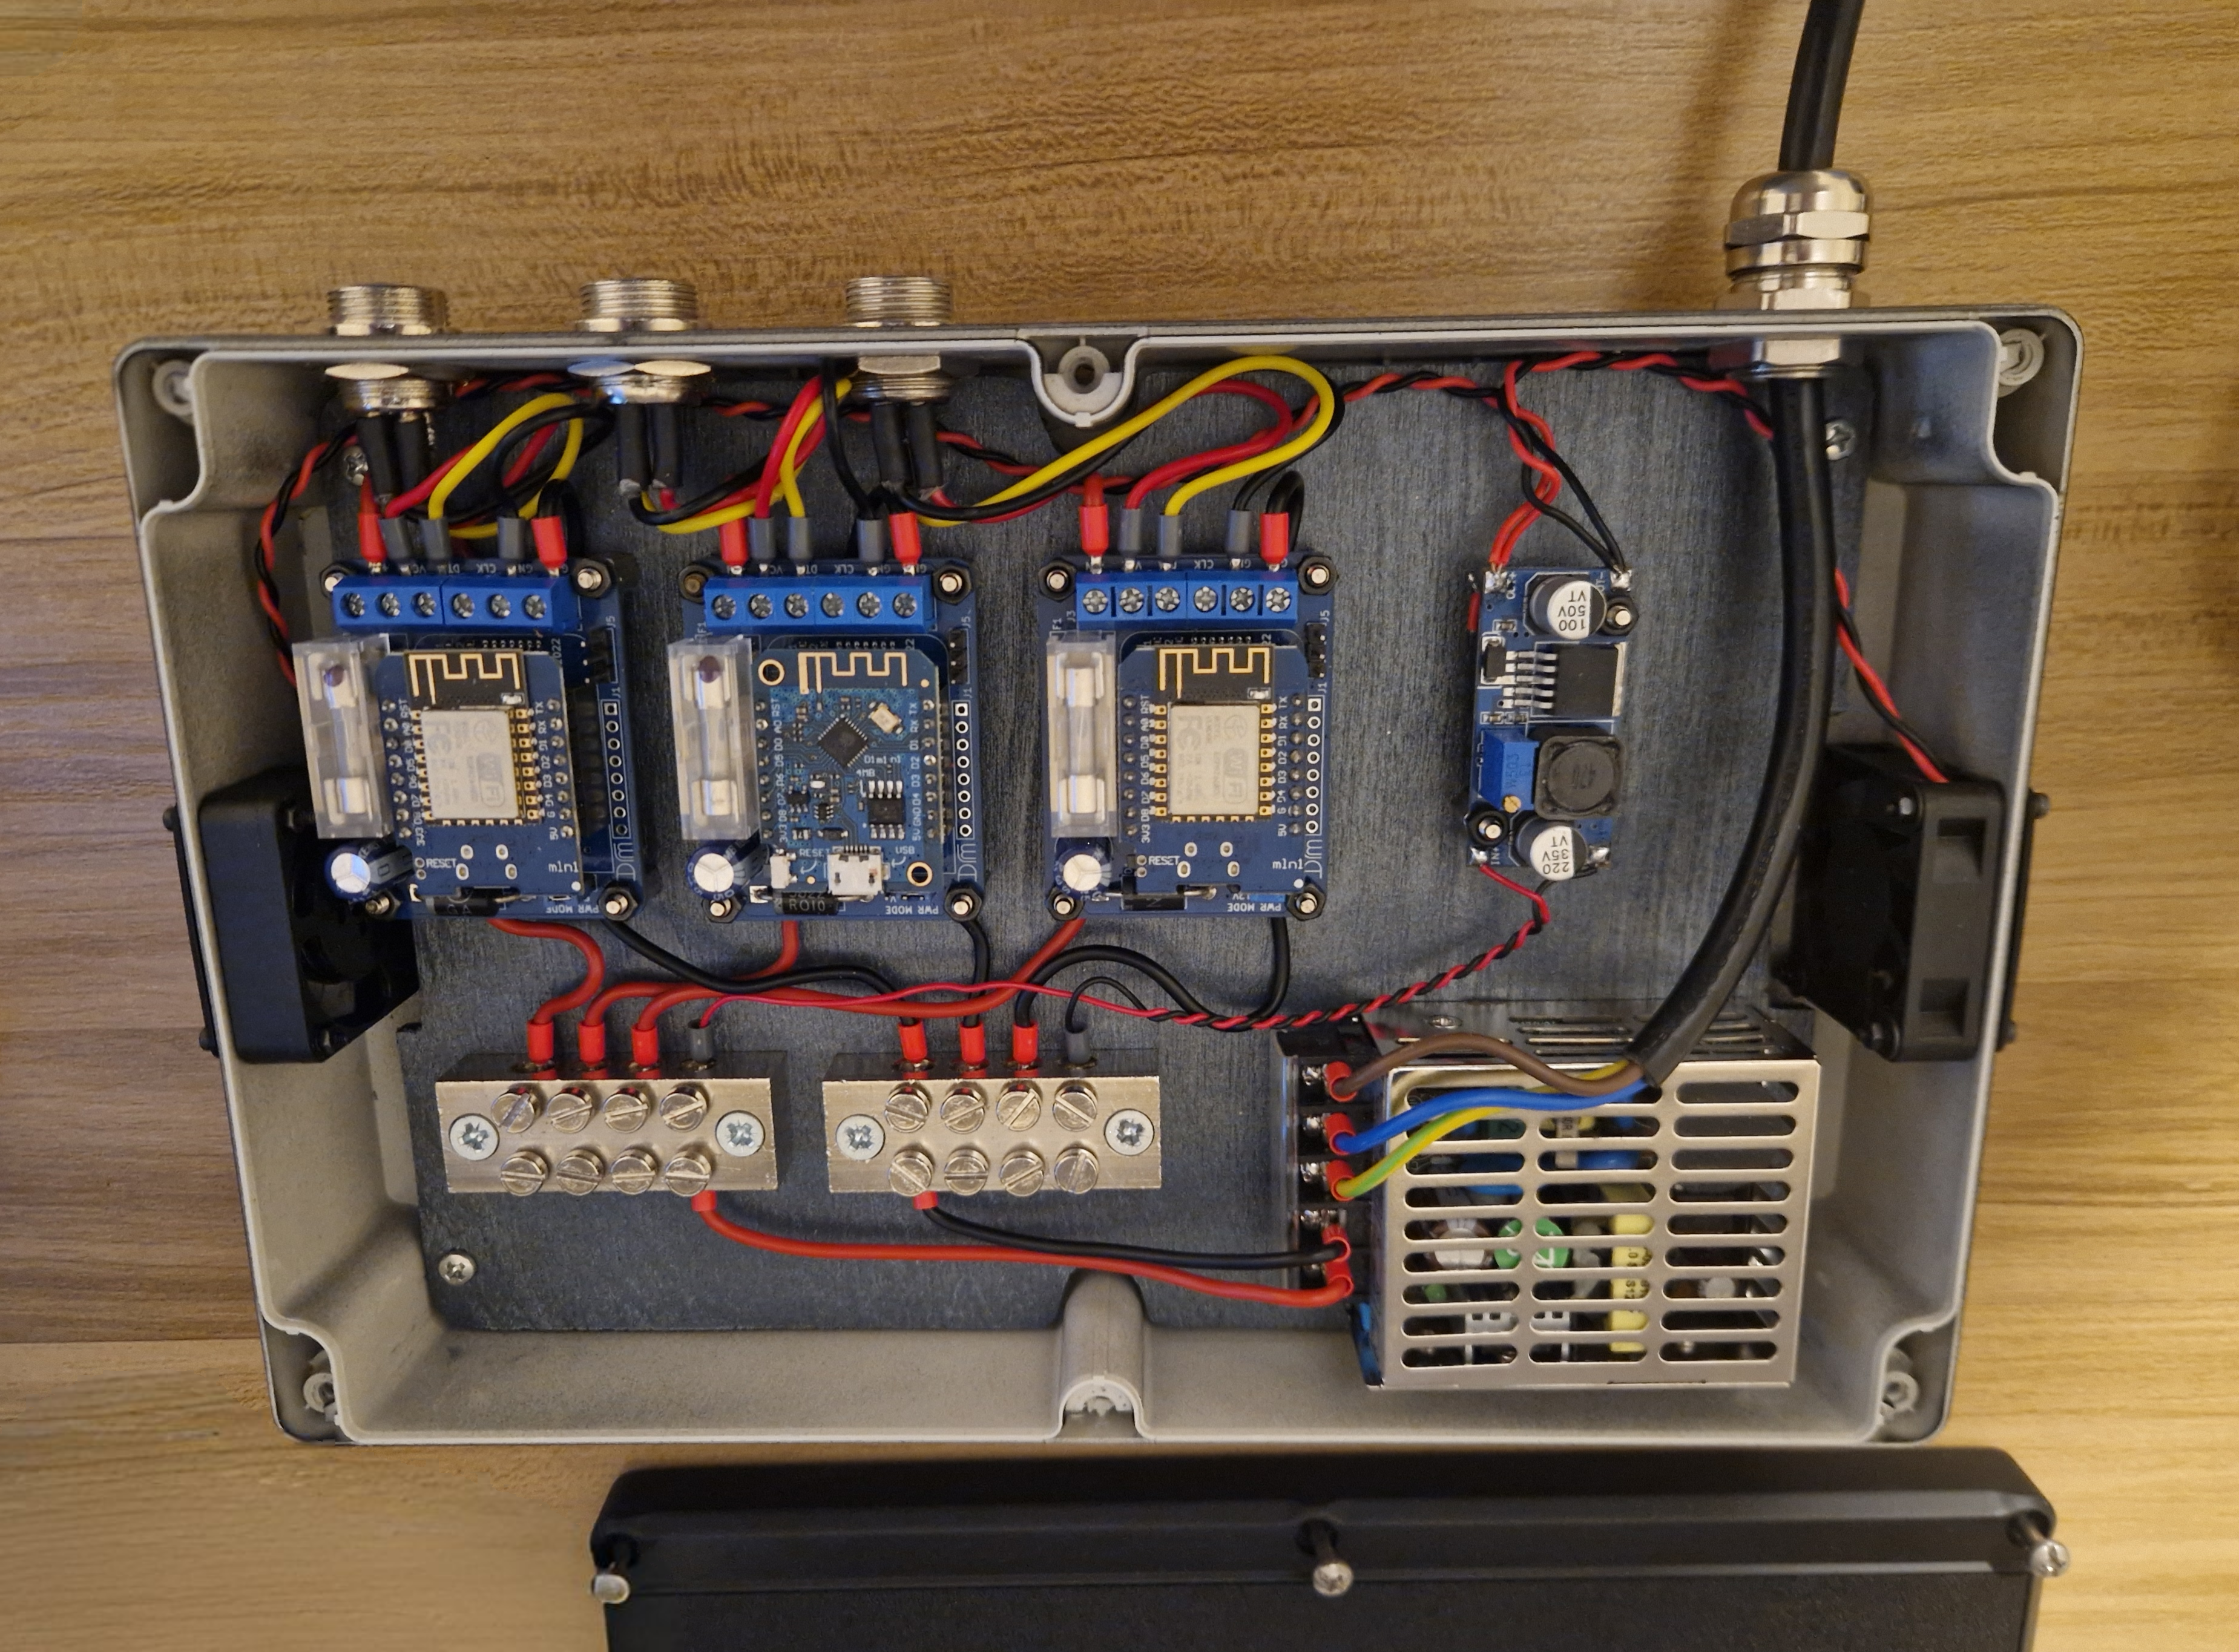
The mains supply has a 5V DC output used for the Wemos D1 LED drivers. There is also a 12V DC boost converter to run the intake and exhaust fans inside the enclosure.

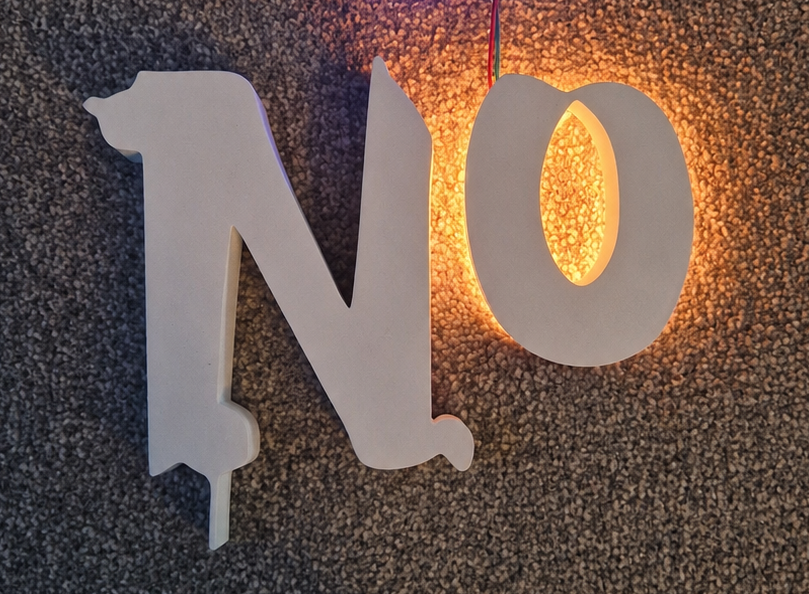
The Wemos D1 boards are running WLED, which is open-source firmware for addressable LED lighting and allows the sign to be controlled over Wi-Fi from a phone. The LED strips are SK6812 addressable LEDs mounted around the inside perimeter of the letters.

24th June 2024

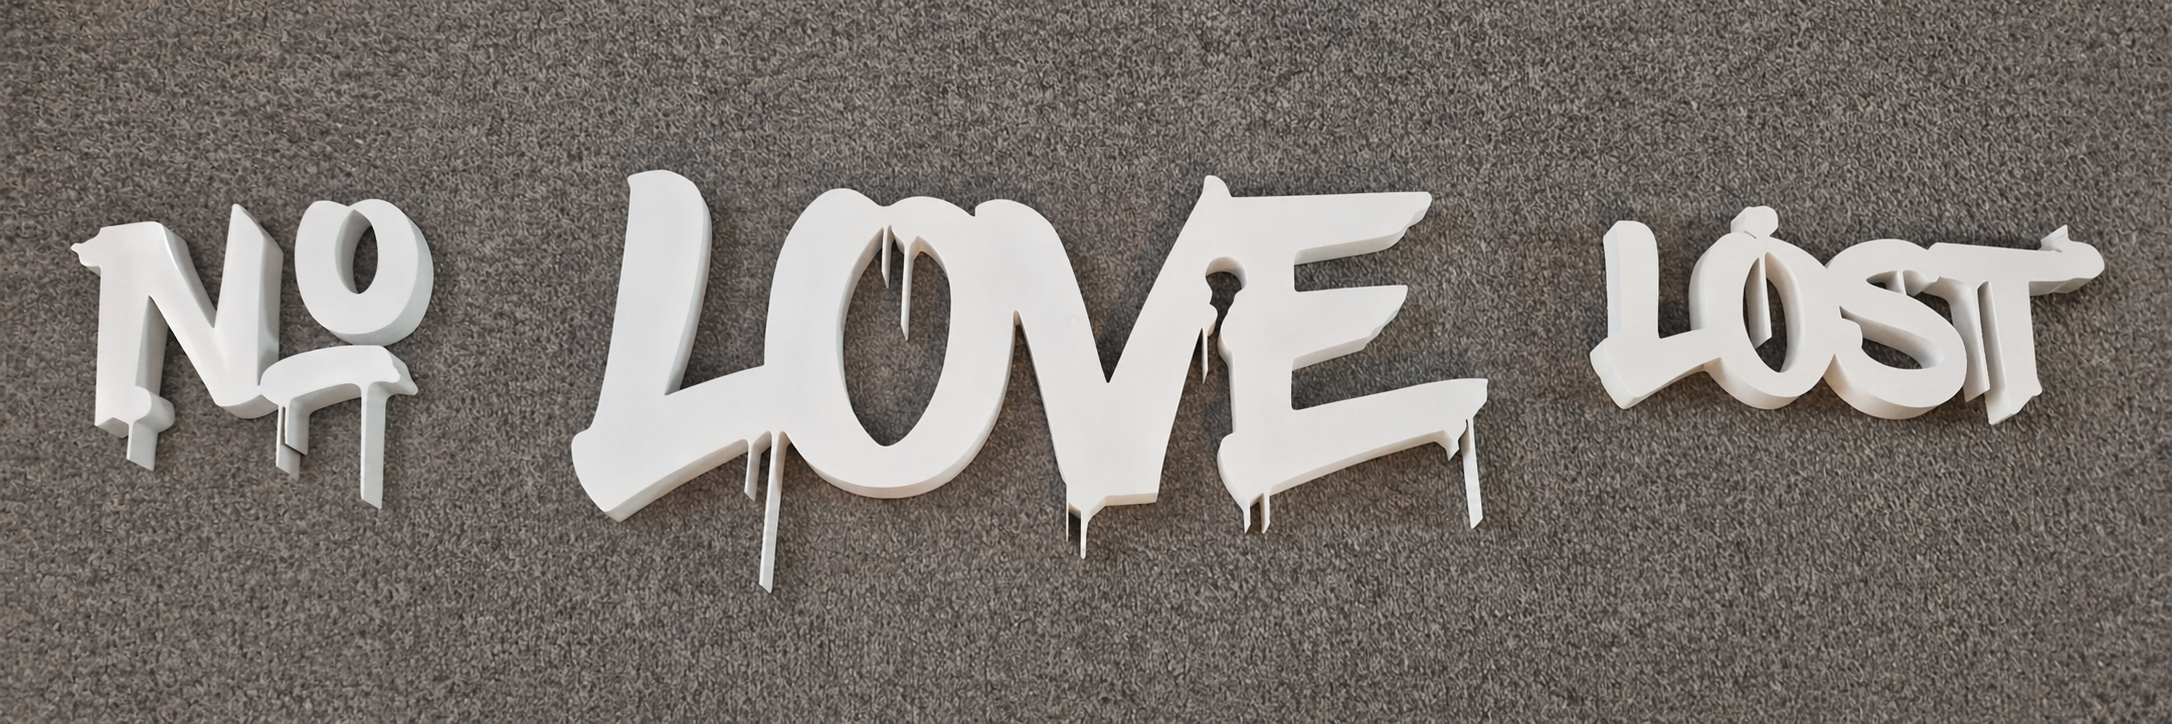
I’ve now joined the printed sections together, sanded, filled and finished the lettering properly.

Because each word had to be split into multiple pieces for printing, a lot of the work at this stage has gone into blending the joints so the final pieces appear as single forms.

14th June 2024

I’ve started work on an illuminated sign set for a friend’s tattoo studio, No Love Lost. This was meant to be a quick project using materials and hardware I already had where possible, but I still wanted a convincing end result.

The starting point was his logo as a JPEG, which I converted into a DXF so I could bring it into SolidWorks and build the profile from there.

Because of the size and shape of the lettering, each word has to be split into smaller sections for printing. A fair bit of the work at this stage has gone into making sure the printed sections locate and join properly, so the final lettering feels solid and deliberate.